How to Replace one of Yours
Instructions for a 45' XL1 - Serial #5855 "T"

You have the bus fully elevated and jacked up enough so there's about an inch clearance between the bottom of the tire and the driveway, now's the time to use this cool tool, the Truck Wheel Dolly. Simply insert under the tire lift slowly and using the casters on the tool just roll back while holding the top of the tire. Easy as Mango Pie.

The airbag is fully inflated and the bus at max height. Before we remove the airbag you must deflate the air. In the MAN mode, expell all the air in the front bags.

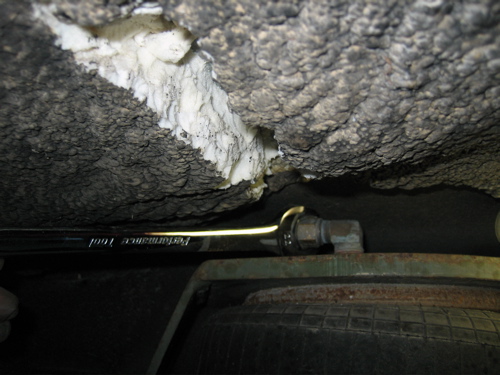
Removing this fitting is probably the hardest part of the job, next to explaining to your wife why a qualified Prevo mechanic is not doing this job. I believe it takes a 21 mm wrench, but all I had was a 22 mm so it did the trick. There is about 2" of room between the top of the airbag support plate and the bus.
If someone has found a better way/tool to perform this task, please let me know so I can post it here.
There should be no air left in the bag, but be prepared just in case.
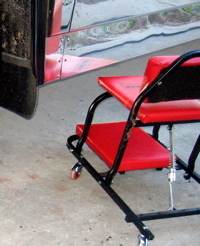
Sears Creeper as opposed to a Creepy JW.
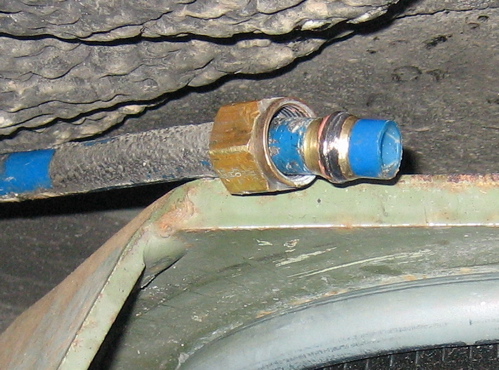
Remove air hose, it takes a little work but it will pull off. Take a large crescent wrench and remove the 90 degree fitting into the top of the air bag.
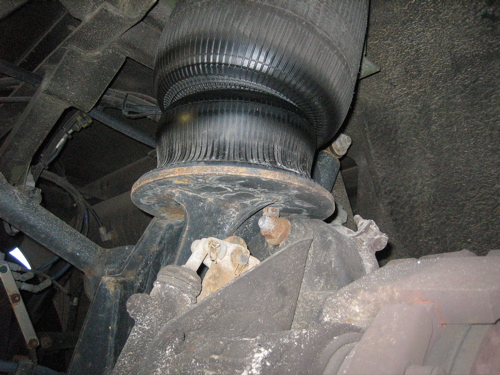
Hold the airbag to the frame. Two nuts on the bottom take a 3/4" wrench. I blasted the nuts with some Master Blasted lubricant to help loosen before removal. On the top plate, which you'll have to do solely by feel, there is one 3/4" nut and another very large nut that surrounded the air hose fitting. Remove both and the deflated air bag should now slide right out.